Showing posts with label Helpful Tips. Show all posts

Monday, September 24, 2012

Using magazines in everyday decor

If you are like me, you get several magazine subscriptions and aren't sure what to do with all of them after you've read them or while you are waiting to read them.
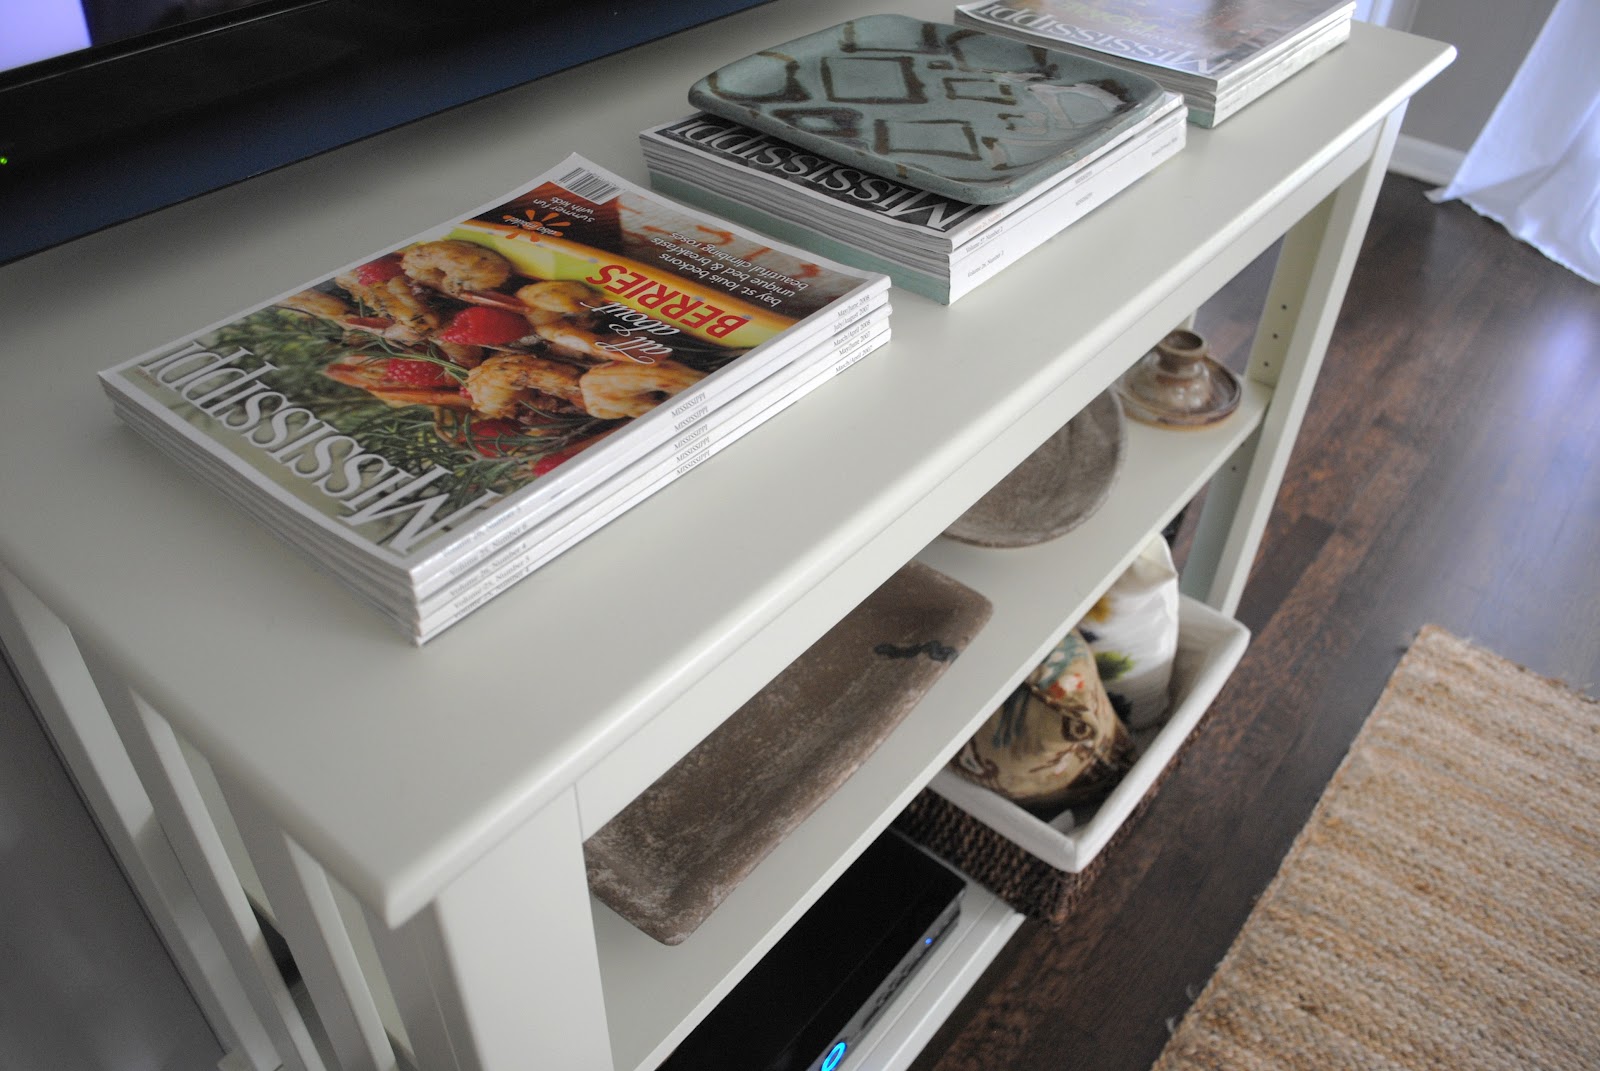
I like to keep some of mine for tips/recipes so I keep them stacked together and use them as part of my room's decor! If they are kept neatly it doesn't just look like a pile of mail.
 
 I love my Mississippi magazines and can't bear to throw away all of the good stuff that is inside, so I use them on top of the table under my TV so it's not just a bare surface.
 They work perfectly to add some interest without blocking the TV! The white covers give them a sleek look without being distracting.
What do you do with your old magazines? Recycle? Donate? Hoard them like me? I'd love to know!

Thursday, August 16, 2012

Dropcloths: A solution for inexpensive drapes

I purchased a dropcloth a little while back to possibly use as some kind of window treatment at my parents' house after looking at the one currently on my bathroom floor (being used as an actual drop cloth) and realizing what a great thickness and natural look it had!
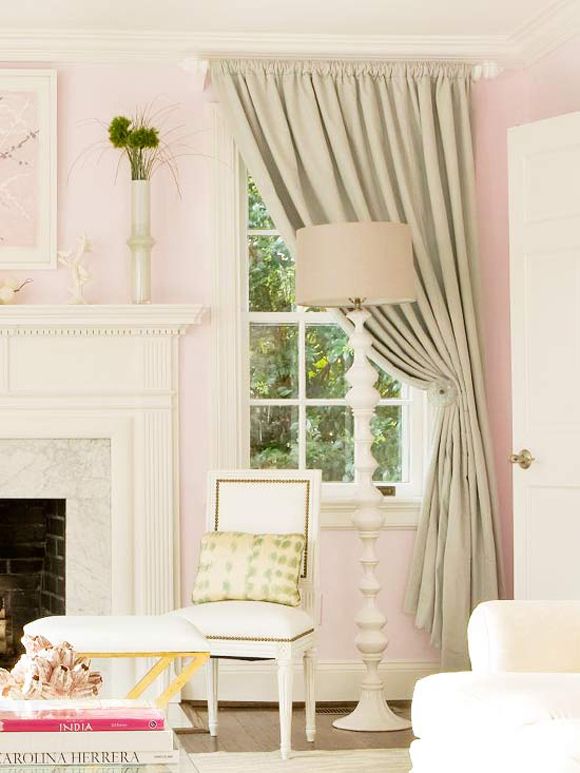
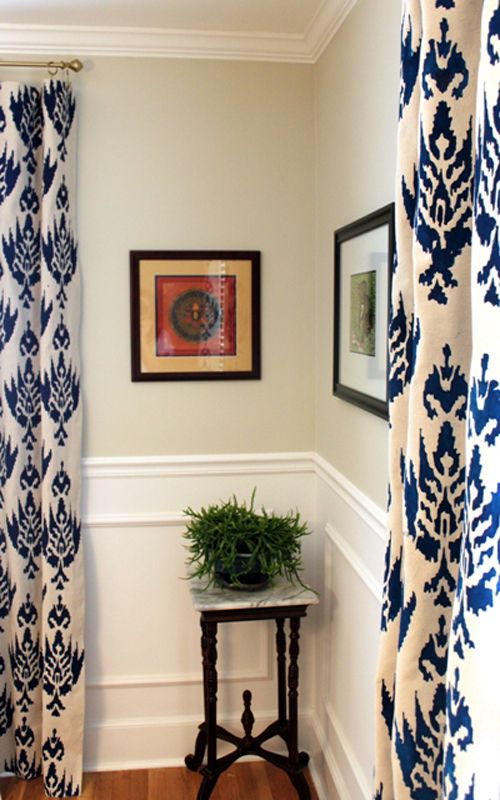
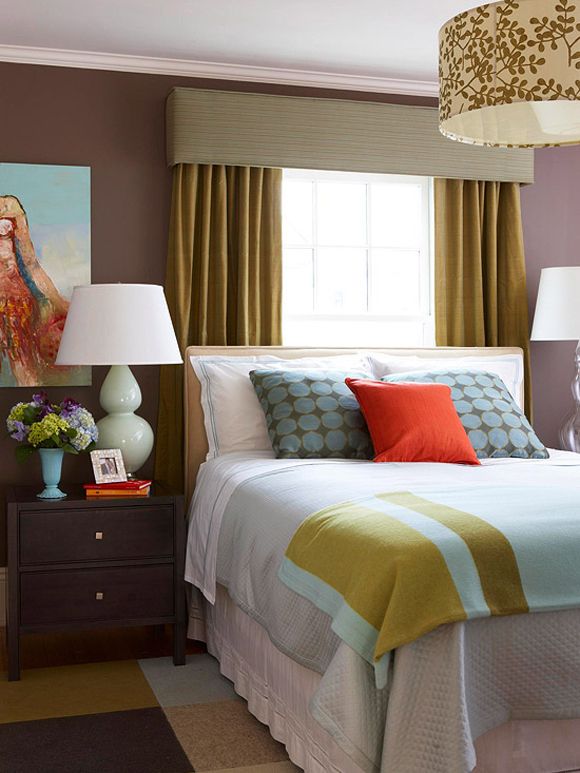
Then I started seeing them used other places by actual designers:


Jenny from Little Green Notebook rounded up a lot more of these pics for BHG...you can see them all HERE.

Then I saw some in person at a friend's house and they looked great! So I thought we could give it a try. This is a VERY in-progress pic, but you get the idea:
I re-used an old brass rod that I painted oil-rubbed bronze, and then picked up some ORB clip rings at Walmart. I had to hem the drapes since they are 10 ft by 6 ft, but they are a great width for the windows and are nice and thick. And for only $10 a pop, a great deal!
See some more in-progress pics of this room HERE.

Tuesday, August 7, 2012

Inexpensive Pillow Form

How cute are these little lumbar pillows for my mom's side chairs?

Check out my secret for a super-inexpensive pillow form that gives great support HERE!

Also, if you are wondering how I make most of my pillows, THIS is a great tutorial. You may remember my original post about it HERE. It's a great way to cover a pillow without a zipper but still enabling you to wash it if needed!

Friday, July 20, 2012

Have You Tried "Chip It"?

I am excited about a new service from Sherwin Williams that I recently discovered! It's called Chip It and you use it similar to the Pin It button for pinterest. You can go to the Chip It site and grab the button to add to your favorites bar. Then whenever you find a picture you like on a website, you can "Chip It" and it will create an entire color palette for you!
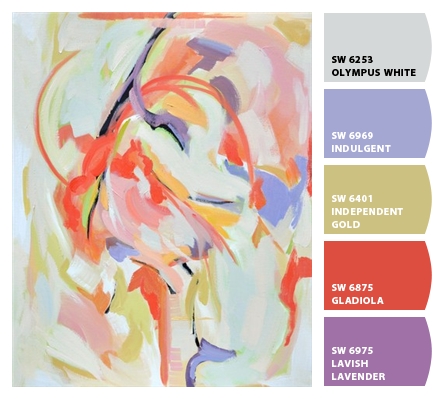
How useful would this be if you have a statement art piece and want to design a room's color scheme around it?
I used this Jessie Mackay piece from my pinterest board to try it out:
How cool is that? Instant throw pillow and accessory ideas!

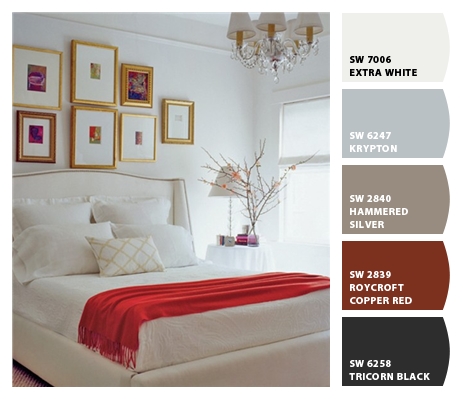
I also tried it on an inspiration bedroom that I had pinned.
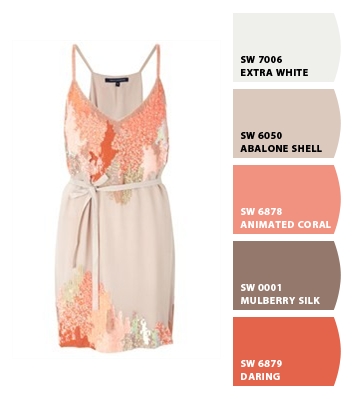
You could even use this for help with accessorizing an outfit:

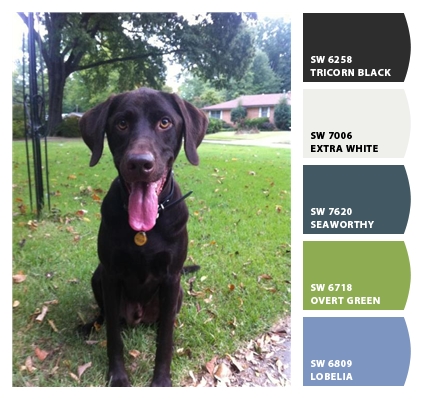
I also thought this might be useful when choosing a matte color for a picture you were having framed. Any of these that it selected would work! I love the Seaworthy and Overt Green.
Just a warning, you are going to want to do this to every picture that you find! I think this is a great idea! And it's so simple to use. It stores all of your "chips" on their site. You just need to sign up.

Friday, April 6, 2012

Check out our Guest Post!

Hey guys!
Head on over to local Memphis artist Hillary Butler's blog today, where I had the priviledge of guest-posting about using layers to style a room! Here is the Link and a sneak peek:


You may recognize Hillary's name from This Post or This Post!
Thanks Hillary for letting me take over your blog for the day!
Happy Good Friday everyone!!

Monday, March 19, 2012

Accessorizing: How to build a vingette

There are lots of "rules" out there about building a proper vingette, that detail how many items it should include, heights of the items, sizes of items, etc... But I think this all depends on the space in question, the style of the room, and type of items being displayed. I usually play it by ear and build each space as I go, but I do keep a few things in mind:
1. Use varying heights to create interest
2. Use different textures
3. Keep in mind that too many colors will start to look sloppy

With large built-ins like these, accessorizing can be a challenge. So I take it shelf-by-shelf.

I thought I would focus on the right side of the shelves to show you my process. I picked the shelf with some of my milk glass collection.

 I broke this shelf into two sides, the left and the right. Doing this makes them easier to tackle!
I began with one of my favorite pieces in this room, my chinese book ends that I found at a consignment store. The milky blue color was great for the room. I paired their subtle color with some brighter, complimentary-colored books that I own. My grandfather gave me his vintage gardening book a few months before he passed away. Those items pretty much took care of the left-hand side.
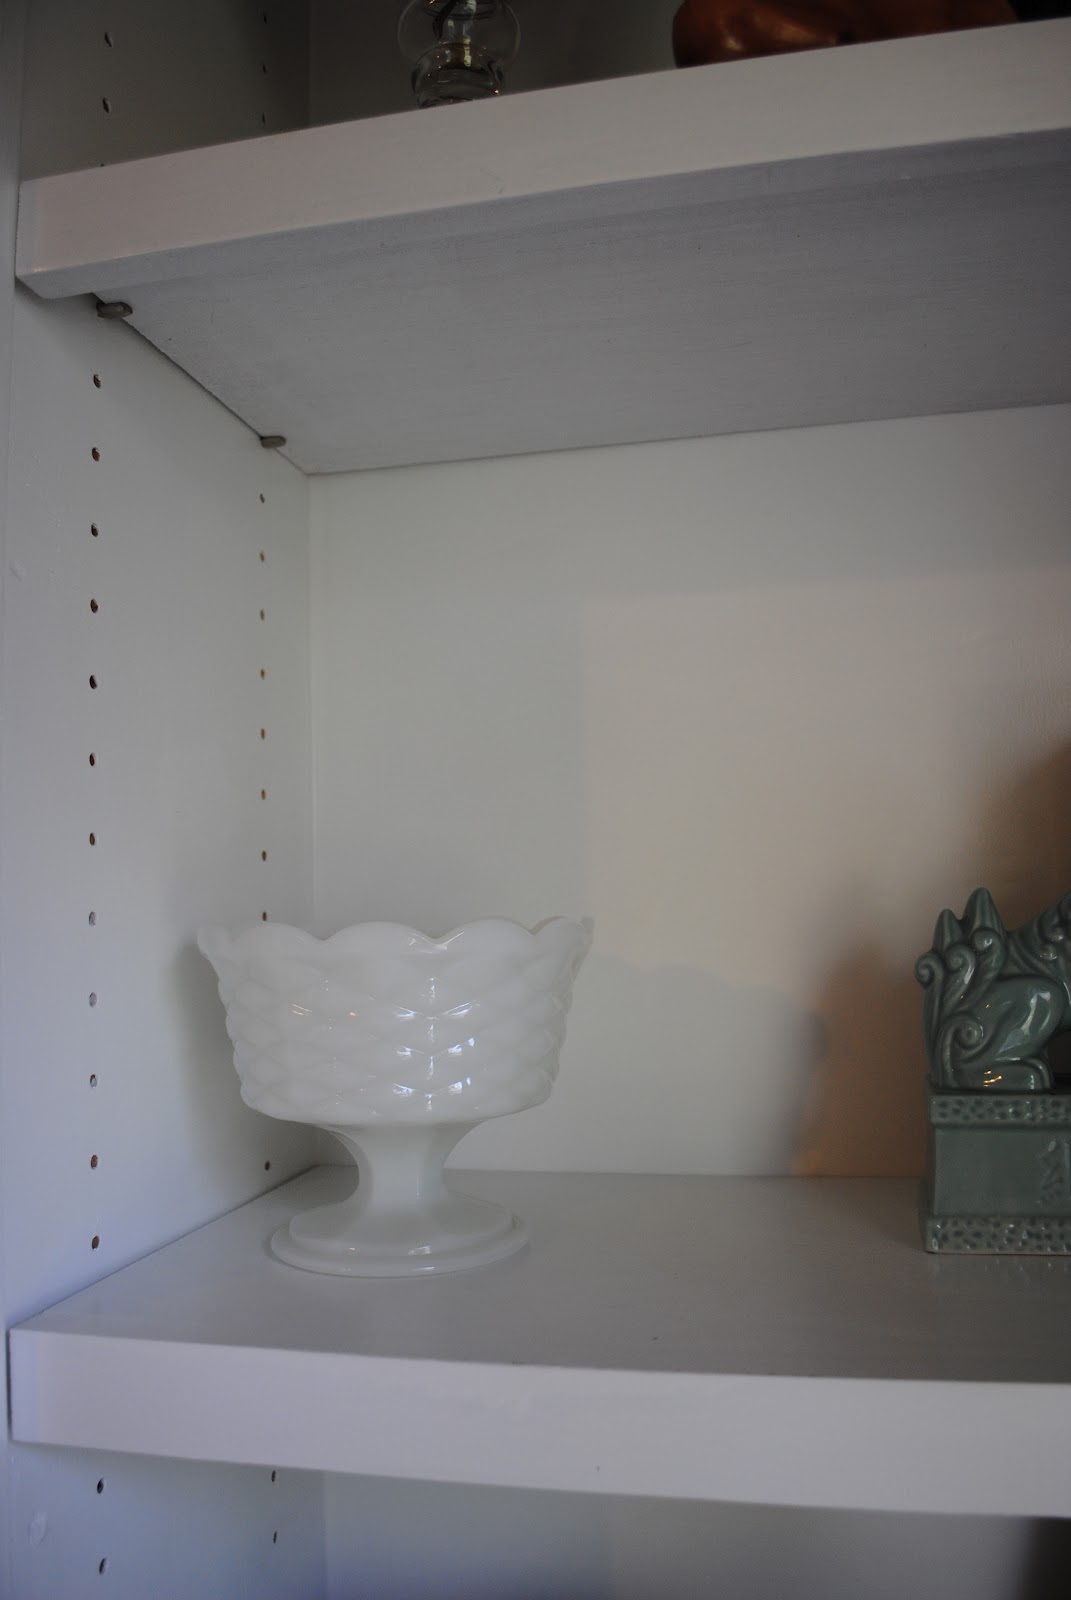
Next I turned to the right side. I decided to use my milk glass to balance out the color with some white so as not to make the shelf too busy. I chose a fairly short and substantial piece first.

Then I went for a taller, more slender piece for some contrast.

Finally, I used an even shorter piece to round out the trio. You could say that I used the pretty standard vignette rules on this side of the shelf (three items, varying in size, similar style).

And this is the final product! By breaking up the shelf into two sections, I didn't get overwhelmed and also didn't under or over accessorize!
I hope this helped you understand my process on this. I hear so often that people don't know where to start, and accessorizing shelves is my number one request when staging, so I know that it can be a challenge! Do you have any spots in your house that you scratch your head over when accessorizing?

Friday, March 9, 2012

Easy, Inexpensive Ways To Freshen Up Your Home For Spring

I am so ready for my yard to start blooming, but nothing too exciting is happening out there yet. So, I made a quick trip to my go-to for easy, inexpensive flowers...Kroger. You would be surprised at their choices and how long they last!
 I picked up this bunch for $3.50. They are sitting on the bedside table that is the match for my console that I painted. This piece needs some help too (see the terribly beat up top), but it's working for now.
I used some floral foam (I keep a big square of it on hand to cut off of), and used this silver julep cup that I bought from Pottery Barn a couple of years ago. I paired that with my two PB Bunnies that I filled with Easter candy (notice how I've already eaten about half of it!!) It's a cute way to decorate for Spring without getting super-cheesy.
Adorable flowers on the cheap!

And quick side-track. You may notice a few changes...since my Great-room wall was re-constructed, my favorite mirror had to find a new home. I stuck it in the entry hall and I LOVE it there! It brightens the whole space!

I needed something under it so I stole the piano bench. I know it's probably not normal to have a footstool under your piano, but it's kind of working for me right now.

On to my second $3.50 bunch of flowers. These are brightening up the dining room. They are sitting in a cute thrift store jar. I love using things other than vases for flowers.

And my cat likes to chew on these...note the little pieces all over the table. Haven't figured out how to fix that yet. She's a big girl and gets hungry, what can I say?
Happy Friday! Now go out and get some flowers to freshen up your weekend!!


Wednesday, January 18, 2012

Estate Sale Deals!

I am SO excited about what I snatched up at an estate sale this week (Ok, not exactly snatched up, but I couldn't believe that on the last day of the sale it was still there!
This is a Carver's Guild mirror that had a price tag of $125. I saw it on Sunday, the second day of the sale when it was marked down to $80. But I still couldn't bring myself to spend that much (I'm cheap). But I went back on Monday, thinking for sure that it was gone, and it was STILL THERE! It was marked at $67.50, and after talking them down to $50 and trying not to show how excited I was, I loaded it up!
HERE is one on ebay to show you just how insane $50 for this mirror is!!
I have an idea of where it's going, and I'll post once I make that decision. I also found a few other great things. If you can see what looks like a pile of fabric to the right, that is 4 custom drapery panels that I got for $20 total. I love the print on them and the colors are right on trend.

A tip about estate sales:
Go the first day and scope it out. They usually run 2-3 days. If there is something that you know is an awesome price and will go fast, go ahead and snatch it up. If you have to think on it then wait. Go back on the last day when everything is priced much lower and see if your piece is still there. You would be suprised, like I was!!

Tuesday, January 17, 2012

A Few Blog Updates!

I hope everyone is having a happy January! I thought with the new year I should spend a little time updating the blog. So, a few things that you should check out:
There are several new options in the column to the right. You can now "like" us on facebook, get every new post emailed to you by simply entering your email address, and check out our Pinterest page by clicking the button!
We also have a new header showcasing some recent projects and a new background.

Also, I bought THIS today! Which hopefully means better pictures on the blog!
In keeping with the theme of new year, new updates, I have made several personal "resolutions", or whatever you want to call them. Here are a few, because I feel like if I make them public, I will be more likely to follow them!
1. Start wearing eye cream at night. Apparently the rest of you started doing this years ago, and no one told me. Now my eyes are all wrinkly and it's going to take me years to catch up. Thanks a lot for keeping me out of the loop, guys! I guess better late than never.
2. Start only getting on Facebook to update my business page or occasionally post pictures. I feel like the "friend" side of it has become a little negative lately, and I am not even seeing updates from the only people that I would like to keep up with. So if you need to get in touch with me, it's probably not the best place to do that. So far I am 3 days and counting with no Facebook, and it's pretty great!
3. Get over my body issues. This is my big one, and it's the hardest. I don't know if I'll ever be completely able to embrace things like cellulite, hair turning grey, or flabby arms, but I'm going to do better not to dwell on it. That brings me to my new blog venture on the side:

www.sensiblychicshopper.blogspot.com

I get asked about my clothes a lot, and I decided to do this to help people shop for fashionable things on a budget. I am not an expert, not even close, so this is just informative and for fun. The catch is that I would have to be OK with posting pictures of myself (which I don't know if you've noticed, is a thing that doesn't happen on this blog!). This will be the big challenge for me, so please check it out and give me some encouragement! I hope you'll follow along with the new blog as well as this one. And spread the word to anyone you think might enjoy it! I'm really excited about it!

Did any of you commit to resolutions this year? Have you already broken them? I'm curious to see what others think about them, so let me know!

Wednesday, August 17, 2011

DIY cupcake stand

I mentioned on Monday that I would be posting soon about the baby shower that I recently hosted at my house. I am actually going to make it several posts because there were lots DIY projects involved there and I was asked how several things were created, so I thought I would showcase them one at a time.
But first, I wanted to show you my solution to displaying 40 cupcakes on a small table. I knew I needed some kind of tiered stand, but I didn't want to buy anything new just for one night. So I went through my collection of serving pieces and found 3 that I thought might work.
 This is a cake stand that I found at a garage sale, an awesome cake stand that flips over and becomes a dip tray that I received as a gift years ago, and a serving plate that I found on final sale at Pottery Barn outlet!
I tried this arrangement of stacking them and then tested it out to make sure my cupcakes would fit on each tier. It worked perfectly!
And here it is with all of the cupcakes! I was so happy that everything worked perfectly!
Here's a closer look.
So if you don't think you have the perfect serving piece, take a quick look through what you have on hand and see it you can make it work!
Next up, how to create those cute tissue paper puffs! They are such an easy way to add lots of color!

Tuesday, June 21, 2011

Some Pinterest Love

Have you tried Pinterest yet? If not, you need to take a couple of minutes to sign up!
I don't know if anyone else is like me, but when I find a website that I like, I keep that tab open on my computer for days, until I have literally 10 tabs open at once. Until one day I open up my computer, and it has RE-STARTED on its own because of some completely pointless really important update. And all of my beloved tabs are now gone forever, never to be seen again. I guess you could call me a tab-hoarder (is there a show for that on TLC yet?). And so I never have any recipes or DIY tutorials and I can't ever find that one picture that I wanted to use as inspiration for something.

OK. Maybe I'm the only one that does this. But regardless, Pinterest lets you immediately save all of these sites/pictures/ideas/whatever you want to one spot.  And you can categorize until your heart's content. It's pretty great.  I am still getting started, but am already loving it. You can also see what everyone else is pinning and can follow friends or whoever you would like.
Take a minute to check it out!
http://pinterest.com/perkylauren/
Like I said, I am still new to this, but am already loving it! 
If you are already on Pinterest, let me know and I will follow you!

Wednesday, February 9, 2011

It's a snow day here so you get a quick tutorial in Picture Hanging 101

This is what it looks like outside of my house as I sit here in my comfy chair and do a little blogging:
Yes, I live in Memphis, TN and this is the 6th time this year that it has snowed!   Crazy!
In about 2 and 1/2 hours there are already about 2 inches on the ground. 
So, since I know I'm not the only one snowed-in for the rest of the afternoon, I thought we could have a quick lesson in picture/mirror/etc... hanging.
Lately, many of the homes that I have been in (and by been in, I mean for work) have had a common theme, bad picture placement.  Whether it is a large pic in a small space, or the picture is too high/low, it always seems to be something. 
There are a few simple rules to remember when hanging things on your walls. 
First, a picture needs to be (if at all possible), hung with the center at around average eye level (around 57 inches).  For me, this means a little above eye-level since I'm a shorty, but you get the idea.  This will help you when you have different sizes and shapes of frames and mirrors in your room.  Keep their centers the same and you will "have harmony among your hangings" (there's a little alliteration for you).
If you have a picture grouping, the same applies.  Keep the center of your grouping around eye level. 
Here is an example:
This is the art that sits over my couch.  The center is at about 60 inches, which is perfect for the space.  Now, if you have very tall ceilings, you might need to adjust this a little, but if it seems awkward, it might be the size of  your picture, not its placement.
This also brings up another point.  My couch is very low, so the picture sits higher than normal in relation to the back.  However, you want to try to keep art between 6-12 inches above the top of whatever furniture piece it is hanging over.  Again, this can vary if you have a very long piece of art, or a lower-than-usual furniture piece, which is the case here.
Now that you know the correct height for your pictures, you need to know where they go in relation to your wall.  It is always best to center pictures on whatever wall you are hanging them on.  Or, if it is a strange space, center them on your furniture piece, like your couch or buffet.  As for size, it is best to leave at least a foot on each side of your couch.  You don't want a piece that overpowers the furniture you are placing it over.
Here is an example of correct size/centering of a piece over furniture:
The mirror is not too large and is centered over the furniture, which is centered on the wall. 
Here is a straight-on look:
Like I have said before, I have been told that I have a problem with having everything symmetrical to the point of being a smidge OCD, but I don't think that's such a bad thing...
Regardless, hopefully this helped those of you who might not have been sure exactly where to hang that new piece of art or mirror!  Stay safe if you are in one of the snowy areas of the country and enjoy your bread and milk sandwiches!!  Ha!

Monday, January 24, 2011

My future dining room table...and some tips for selecting your own

My current dining room table is what I like to call something that I have completely gotten my money's worth out of. I bought it in 2003 for my apartment in grad school, and it has moved all around the Southeast with me only to settle in my moderately sized dining room in Memphis. I paid a whopping $150 for it and have recovered the seats about 4 times. It only seats 4 and is not convenient when we try to feed more than 4 people. My dining room is never going to be large, and eventually one wall will open up into the kitchen and include a bar, but until that glorious day, I need a grown up table that doesn't scream "I'm in college!"
Here she is in my dining room about a year ago. Alot has changed in this room...the lion print is now on the far right back wall, my plate rack on the right. I have a rug under the table as well. But you get the idea. So I need something round again but with a leaf, and more sturdy/solid looking than this. I love THIS table from Pottery Barn, but I don't love the price. So when garage sale shopping with my mom this summer, she spotted a table with LOTS of potential and we immediately ran to claim it. Better yet, it was only $10!! Yes, you read that right. $10. I couldn't believe it. The finish wasn't what I was looking for, but that can be fixed. So we took it home and it has been patiently waiting in my garage.
I didn't get an original "before" pic, but this is after sanding. You can kind of see the original finish still on the side of the middle leaf. It will sit in the dining room without the leaf, but this shows it at its full size.
Check out those amazing feet!!! This piece is pretty old and the wood is solid. I still can't believe the price!! We are going to stain it in a deep, rich brown and then I am going to find some chairs once I see the final color. I can't wait! As soon as it is complete, I will share the pics with you.
In the mean time, I thought I would share a few quick tips to remember when you are selecting a dining table for your space.

First, MEASURE. It is so important to know the size of your room and the size of any other pieces (buffets, side boards) that might cut into the size of the room.

Next, use those measurements to figure your table size. You need to give each guest 3 feet of space in between the table and wall or another piece of furniture. This means 3 feet of clear space all the way around the table.
Example: If your room is 14 feet long, your table does not need to be any longer than 8 feet long.
 
Next, decide how many people you would like to seat. Each guest should have approx. 24 in. of space. If you need more than the standard 72", think about getting a table with a leaf.

Finally, if your chairs don't come with the table, be sure that there is 12 feet of leg room between the bottom of the table top and the top of the chair seat. A typical chair seat height is 18 in from the floor. This would make the table top 30 in. from the floor.
These should help you find the perfect fit for a table in your space! It will assure that you won't have a table too large or too small for your room, and for your guests!!

Friday, April 9, 2010

Make Sure Your Pretty Spring Plants Are Also Pretty Winter Plants!

Today is a perfect Spring day and I just couldn't help but take some pictures of the pretty flowers that are starting to appear in our yard! This gave me a great idea to post a little about landscaping and plants. We always talk about the inside of your house, but the outside is important too! No one wants to venture inside a house that looks scary from the street!

So, I thought I would use our home as an example of this. When we were looking for a house, we stalked the internet until we had a list of homes that we wanted to see. After looking at our house online, the ONLY reason we decided to see it in person was because of how beautiful the yard was! I have shown you the inside pictures of our house before we moved in, so you know the yard must have been pretty spectacular. This is the front of our house. Now these pictures don't show the entire front because the flower bed on the left side of the house is a work in progress.
I thought the shadow of the tree looked really cool. It doesn't have all of its leaves yet so it makes a great shadow! Our grass is still in the process of turning green...
This is another view (yes that is a dog wandering around my flower bed). This brings me to the purpose of my post. When you are looking for plants for your yard, make sure to do several things:
1. Pick out several heights in order to layer your plants, highest in the back, shortest in the front. This creates a lot of interest and depth in your flower beds.

2. You are more than likely shopping in the peak blooming season, but make sure your background (largest) plants stay green year-long. A good example of this is the azaleas in the front of our house. They make beautiful blooms in Spring/Summer but keep green leaves in the winter so the front of the house doesn't look barren and boring. A plant like hydrangeas will give great color in the Summer, but come winter it is a little scary looking and should be an accent plant, not the backdrop for all of your other plants.

3. READ THE LABELS on all of the plants that you purchase (I have learned this from experience). If you have a shady flower bed to fill, don't fill it with plants that need full sun!!
These are some of my lovely azaleas and my dog, Riley. I didn't want the neighbors to think I was crazy just taking pictures of bushes, so he makes a great subject. That is his frisbee that has seen better days, and that he takes everywhere!
This is just a shameless way to get more pics of my sweet puppy on the blog!
This is a flower bed on the back of my house and a great example of using plants that stay green year long/can live in shade! I can't take credit for much of anything in my current yard, as that was all the work of the previous owners. They did a great job!!
My backyard is fully shaded, as I'm sure many of you can attest to, so learn to embrace your "wild" side and appreciate your ground cover. I love these little purple flowers that grow in my grass-less back yard.
This is me being a stalker and taking a pic of my neighbors' backyard. They don't ever use it, but it has such great wild flowers it almost looks like snow! This was the best pic I could get without climbing the fence/being arrested :) I love the way it looks...it almost makes me feel like I don't live in the city! Almost...
I am by no means a plant expert, in fact, I've learned alot by trial and error, but these are just a few things that I have learned and would like to pass on. Good luck with your planting this season!
Related Posts Plugin for WordPress, Blogger...