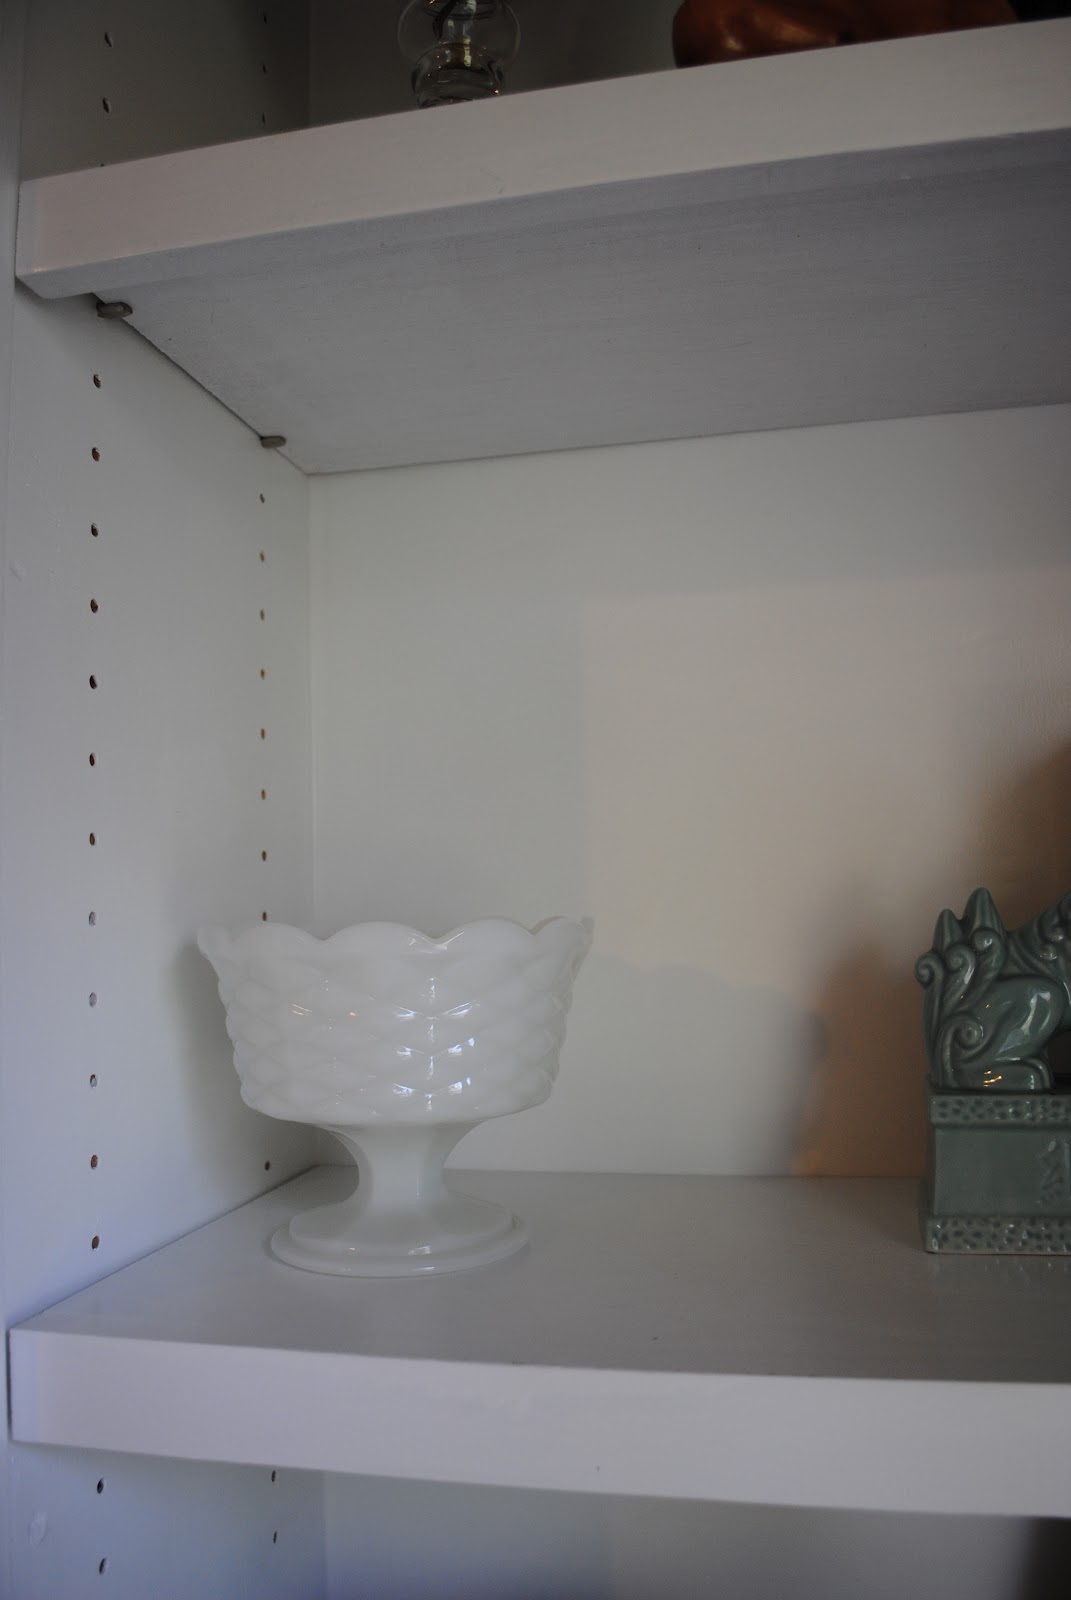
Here is one of the shelves before:




 Here is a before picture of a living room I recently staged. The angle is OK but without a wide angle lense, it is really hard to see the true size of the room. Also, the rug and other items in the room are pretty dated and the buyers in this area are young couples looking for their first home.
 Here is an after shot with a wide angle lense by a professional photographer. It is from the other corner of the room, but you get the idea. We added some easy updates (new rug and side chair from Overstock.com, coffee table from Target, and art from Garden Ridge) and it's like a new room! We also opened the curtains to bring in the natural light, as well as removed the door to the den off of the dining room. This helps give the house a more open floor plan and better flow, which is what buyers are looking for these days. The house was listed using the first picture and was on the market for quite some time without selling. After staging and new pics, it sold in a couple of months in a terrible market!
 This is a before shot with a regular camera of a den area. It is really hard to tell how much furniture can really fit in the room. You would easily pass it up when browsing listings online.
 Here is the after with the professional wide angle. We didn't over-do the furniture, but gave it enough to show how much room there really is. We also covered up the ugly wires from a previous TV setup with a mirror from the bedroom dresser! It was the perfect size.
 This is a before of the master. Boring. And hard to tell how large it really is.
 Here is the after. With just a king sized bed, side table, and dresser it is a whole new room!
 Here is the main living room. It is a huge space and we just wanted to showcase its potential with a few key pieces.
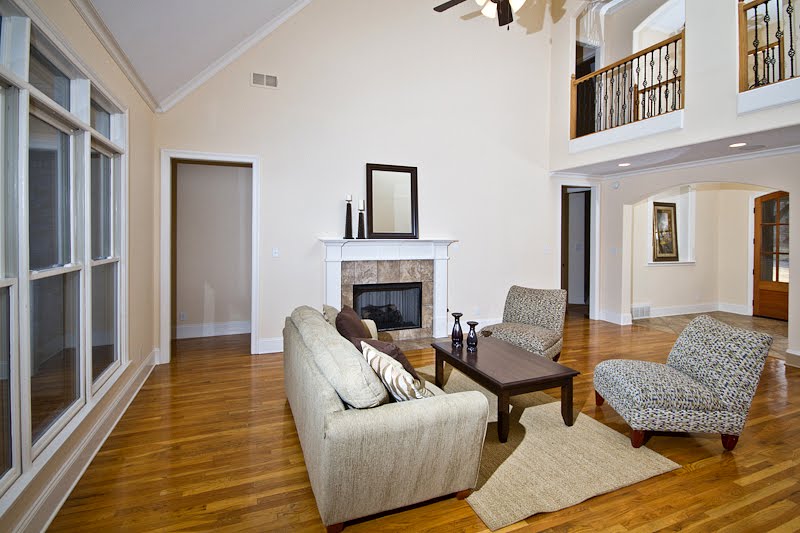 Here is the after with furniture. Doesn't it feel so much cozier and inviting than before!
 This is a before of that room from another angle.
 And here is the view when you walk in the home now. We didn't over-saturate the room with furniture and accessories, but filled it with enough to make it feel like a home.


 We decided to mount the TV on the wall and hide all of the cables/wires in the other room, which is just a mud room. So no messy accessories! The coffee table is a piece that is special to the family that was also taken from the living room. We will give it some fun accessories to help update its look a little!
 This room has an entire wall of french doors (which was quite the challenge) and has some great custom touches. You can see though that the curtains are a bit much for the laid-back feel of the house, and the furniture could use some sprucing-up. Don't worry though, we are re-using this couch in another space!
 Here is another view of the windows. These are stationary panels that don't actually function, just for show. Our plan was to create new panels that would sit in the same place, but could pull across the doors for privacy.
 This is a view of the living room looking at the fireplace. This couch will be replaced by a chocolate sectional that sits on the far right wall and turns to face the fireplace. This will give them functional seating and make the most of this long room! We will also get a new, leather recliner to sit in front of the window wall. A new rug and a couple of small chairs to flank the fireplace will give this room almost 2 times the current seating! And it still will feel bigger than it does now!
 This is one of my inspiration fabrics to be used for throw pillows. It was a bit of a splurge but is so soft and the colors are absolutely beautiful!
 The top fabric will be the new drapes (I got it for a steal...and actually bought all that was left, possibly in the whole world...I couldn't find it anywhere else!). The bottom fabric will be more throw pillows.
 This is the front of the house. Very cute!
 This is the very large master bedroom
 This is the dining room. It is a great size!
 This was a view of the den/family room area. It was a great space that was connected to the kitchen, but the couch placement completely blocked the flow of the room, and the counter in the picture made it hard to tell how much space was actually in the room.
 Here is an after pic. The room looks so much bigger! The counter is out of the picture and we have re-arranged the couches without moving anything out of the room.
 Here is another view of the room. You can see the same problem. It looks like the eat-in area is forced into the space, and the size of the room is really hard to estimate.
 This is the after pic. We have kept most of the table out of site and it is easy to see how much space is in the room!
 Here is a bedroom in the same house. It is really personal with lots of pics that clutter the room and make it way too personal. Also, there is NO color anywhere!
 In this after pic, you can see how easily a colorful bedspread and a couple of pillows bring so much color into the room! Also, removing all of the personal pics and replacing them with one neutral wall hanging helps put the attention back onto the room, not the homeowner's things.
 This is a room in an East Memphis home that was used as a home office/yankees shrine/doggie home/etc... For buyers, you want to give your room one main purpose so that it is easy for them to picture what they would use the room for.
  You can see we just removed all of the personal wall hangings and clutter, most of the unnecessary furniture, and re-positioned what was left to give the room a purpose. We also hid the doggie home so that it wasn't so prominent in the room. (Side note: this home sold the first day on the market! :)

