Thursday, February 18, 2010

Turning an ugly duckling lamp into a swan

I seem to have an entire closet full of old lamps, pillows, and other random accessories that at one time, I must have thought were really cute. Not so much now. I have had a pretty ugly wood-looking lamp with weird circular cutouts for several years, not knowing what to do with it. This all changed the other day when I was shopping for a client. I saw this lamp at IOMetro.com.

I really liked the way it looked, and I had a lightbulb moment. I could spray paint my ugly lamp to get this same look! Of course, it wouldn't be exactly the same, but I can live with that if I can save $150!

So, I started with a can of spray paint. I gave the entire lamp base several coats. I also gave the shade a coat. It was kind of a dingy beige and needed some sprucing up. I apologize for not having before pics.

This is the lamp after spray-painting over the ugly faux wood look.

I wanted my lamp shade to stand out, and I wanted it to coordinate with my bedding. I bought a $5 stencil at the fabric/craft store, and used some orange spray paint to add this really neat pattern to the shade! I just made sure to cover/tape everything that I wanted to keep white.

Here is the finished product! MUCH better, and for only about 7 bucks!

It is now sitting on my dresser in my bedroom. I think it looks great with the pillows on my bed!!

My Southern Living Project Follow-Up

Last month, I posted about my new goal to try one thing from my Southern Living every month. My first attempt at this was a Cool Season Herb Box. You can read about it HERE. This was a little more difficult than I thought, mainly because it has SNOWED in Memphis at least 3 times in the last few weeks! So, I had to wait until I thought all of that crazy weather was behind us.
First, I asked my husband to build a small herb box for my project. He went above and beyond the picture that I gave him from the magazine, so I have more of a medium-to-large herb box. This is what he made for me:

Next, I bought some herb seed packets and some potting soil.

I poured a decent amount of potting soil into the box and patted it down so that it was kind of firm. Then I used my finger to poke holes in the soil and poured seeds in each. I made sure that every hole was covered.

To make sure that I knew what was what, I made markers. I used plastic drink stir sticks, card stock, a marker, and tape. Really simple.


A close-up look at my markers.

Now I just have to cross my fingers that something will actually sprout up from those seeds that I planted! If anyone has any tips for growing them, feel free to share, as I am pretty clueless about this type of thing! This project was pretty easy, and you don't HAVE to have someone to build a box for you, you could just buy one. Just make sure to put holes in the bottom for drainage!
I will post updates once my herbs start growing!

Monday, February 15, 2010

My tank top found a new home

I sometimes find really great deals that I don't need, but that I know I might wear eventually. OK, I do this alot. I know I'm not the only one :) This happened a few months back when I found a tank top with a really pretty print at an outlet for $8...and it had a little red dot which meant it was 50% off! Who can pass up an Ikat print tank for 4 bucks?? Not me!

After sitting in my closet for quite some time, it was getting bored. I have tried it on more times than I can count, but it just never quite looked right. But I refused to part with it because the print was so "in", so I kept it in hopes to turn it into something great; I just wasn't sure what!
Last week, a friend gave me a link to this blog post. This girl and I must be kindred spirits because her story was identical to mine! And her end result was a really cute pillow. So, using her as inspiration, I set out to make my own! This is how I did it:

First, I measured the shirt to see how much material I could get out of it


I found some old pillows in my closet, so I took the ugly cover off and used the filler.

I cut the pillow open and pinned/cut/sewed to create a new shape since the shirt wasn't big enough to make a complete square.

I used some of the old stuffing to re-stuff the pillow and then sewed it up!


Here is the finished pillow! I used the buttons just to add a little extra.
Didn't want to waste anything!

It is currently hanging out on my bed with some other pillows that I made. It is having a lot more fun than it was in my closet!


My happy bed!

Wednesday, February 10, 2010

Our Dining Room

Our dining room sits in the center of our house. I can see the backyard and the front yard from it and I love that. It is challenging because it is not very big and is pretty square. And also because it ends up being more of a walkway through the house than a dining room. When we bought the house, it had some really great (sarcasm) 80's wallpaper in pinks, blues, and purples. I don't know how we missed getting a picture of that awesomeness, but this is a picture of what was under that wallpaper...more wallpaper! It actually had kind of a cool/retro look to is, as it was circa 1957, but it was too damaged to save. So two layers, a lot of spackling, and a lot of sanding later, we had the original walls!

Dining Room...In between layer one and two of wallpaper. You can get an idea of what the first layer looked like by the pieces all over the floor. The blue carpet was nice too.


This is our dining room after an entire day of wallpaper removal.

Next was a fresh coat of paint, taking out the doors to the great room, which really opened up the space, and covering up the textured bottom-half of the wall to start on the creation of wainscoting.

Next I tackled my chandelier. The brassy finish was really dated, but I thought it had potential. So we took it down, and I gave it a few coats of white spray paint!

This is the light now! Painting it gave it a great updated look! For about $2!

This is my dining room now...looking through to the front yard. We are still not finished with the wainscoting and picture-hanging, but it is a huge improvement!

My dining room looking through to the back yard (sorry for the dog tail in the corner! )

Saturday, February 6, 2010

Think you can't afford that fabulous room in the magazine? Think again!

If you are not familiar with the website Decorpad, you should definitely check it out! They have TONS of inspiration rooms and a section that is my absolute favorite called look4less. A couple of weeks ago, they featured this picture:

Well, my eyes automatically zoned in on the diamond print pillow, and I realized that I needed these in my home ASAP! The great thing about this site is that it gives you a list featuring where to find just about everything in this room but on a budget!
So, since I have been in a major pillow-making zone lately, I immediately went to BuyFabrics.com and ordered a yard of this fabric! It is by Duralee fabrics and the name is Pool Diamond. Here are my finished pillows:

The color is much more "pool" blue than in my pic. They are currently living on the bed in my office. I almost love them too much to keep them in a side room though, so they may end up in my still-to-be-finished great room!


This should encourage you to not be discouraged by expensive "designer" rooms that you see in magazines! Any look can be accomplished with a little imagination and creativity!

Thursday, February 4, 2010

So...You LOVE your new curtains, but they are too short! What do you do?

While searching for a new home, we lived in an apartment for a few months. This was a VERY old apartment with windows everywhere, and nothing covering them. So I bought LOTS of floor-length curtains that I knew I could use once we found a house. My problem was, when it was time to hang them, they were all too short! My new home doesn't have the highest ceilings, but I need them to APPEAR as high as possible. The trick to this is hanging your curtains right below the ceiling. It really works! Unless your curtains are too short... So the solution: add fabric at the bottom of the curtains and turn it into a custom trim job! This is a great way to add a little personality to a drab curtain panel. Any local fabric store will have left over remnants that are at discounted prices! I found a curtain fabric remnant that was large enough to trim all 6 of my panels, and went to work! And a little secret, when I made these, I still had not touched my 3 yr old sewing machine (I know, terrible). But I am a BIG fan of iron-on hems! I used the heavy-duty kind for these curtains and it worked great! So even those of you who don't think you are crafty enough for this project, all you need is a pair of scissors, an iron, and the iron-on hem you can get anywhere (Wal-mart, for example). For about $20 worth of fabric I have 6 almost-new curtain panels!


The finished product!


A closer look...

Tuesday, February 2, 2010

Chanel on Staging part 2: Yellow isn't your color (or your house's)

“The best color in the whole world is the one that looks good on you!” What color looks good on your home?

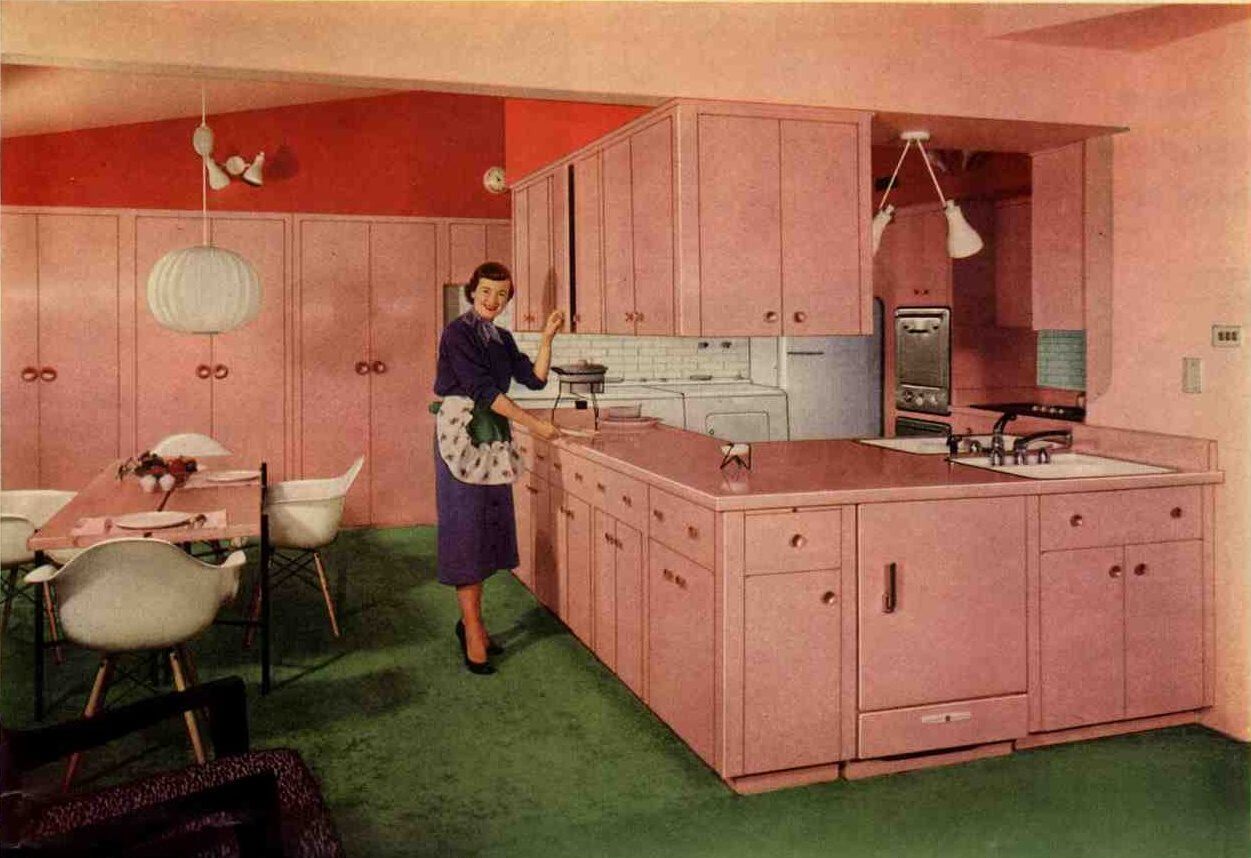
Color is the easiest way to transform your home into an inviting, appealing place for buyers. Every home is different based on architectural style, location, and size. Choosing the right paint color can be the one factor that makes your home a hit with buyers! Just because powder pink or eggplant is your favorite color doesn’t mean this is the color that looks good on your home!

Don’t hide your home’s features in an overwhelming, taste-specific color. Let your buyers picture their own belongings in your home by giving them a neutral backdrop to begin with.

It might sound boring, but neutral beiges, grays, and golds are the easiest way to make your home appealing to the masses. This gives you a perfect backdrop for just about anyone’s furniture and accessories. Bring in a few bright throw pillows or flower arrangements and what you thought would be drab is a fabulous, clean, updated space!

Paint is a minimal investment for a dramatic, often-times needed change. And if you can’t live without your eggplant sun room or powder pink kitchen, paint those colors in your new home! Realizing that this is no longer your personal space is the first step to creating the environment that buyers want.

Stay tuned for the final part in the Chanel On Staging Series!


For part 1 of Chanel On Staging, click HERE.
Related Posts Plugin for WordPress, Blogger...